Yatta Checkout User Guide
Preview Yatta Checkout on your website

We provide a JavaScript library to integrate the Checkout on your website. The following steps show you how:
If you haven't already, set up a product.
Edit the product you would like to integrate.
Copy the code example for web integration from the "Web Integration" section of the "Manage product" page.
Paste the code into the HTML of your website between the and tags. This is necessary for the Checkout to start.
The second line of the code snippet adds a link to start the Checkout. You can move this to where you would like the Checkout to start.
Run your web server and click on the newly created button.
Note: Due to our security standards, Yatta Checkout only works when you run your website as a web server. You cannot open an HTML file locally. Also you have to open your website via localhost (or any other domain) — using an IP address does not work.
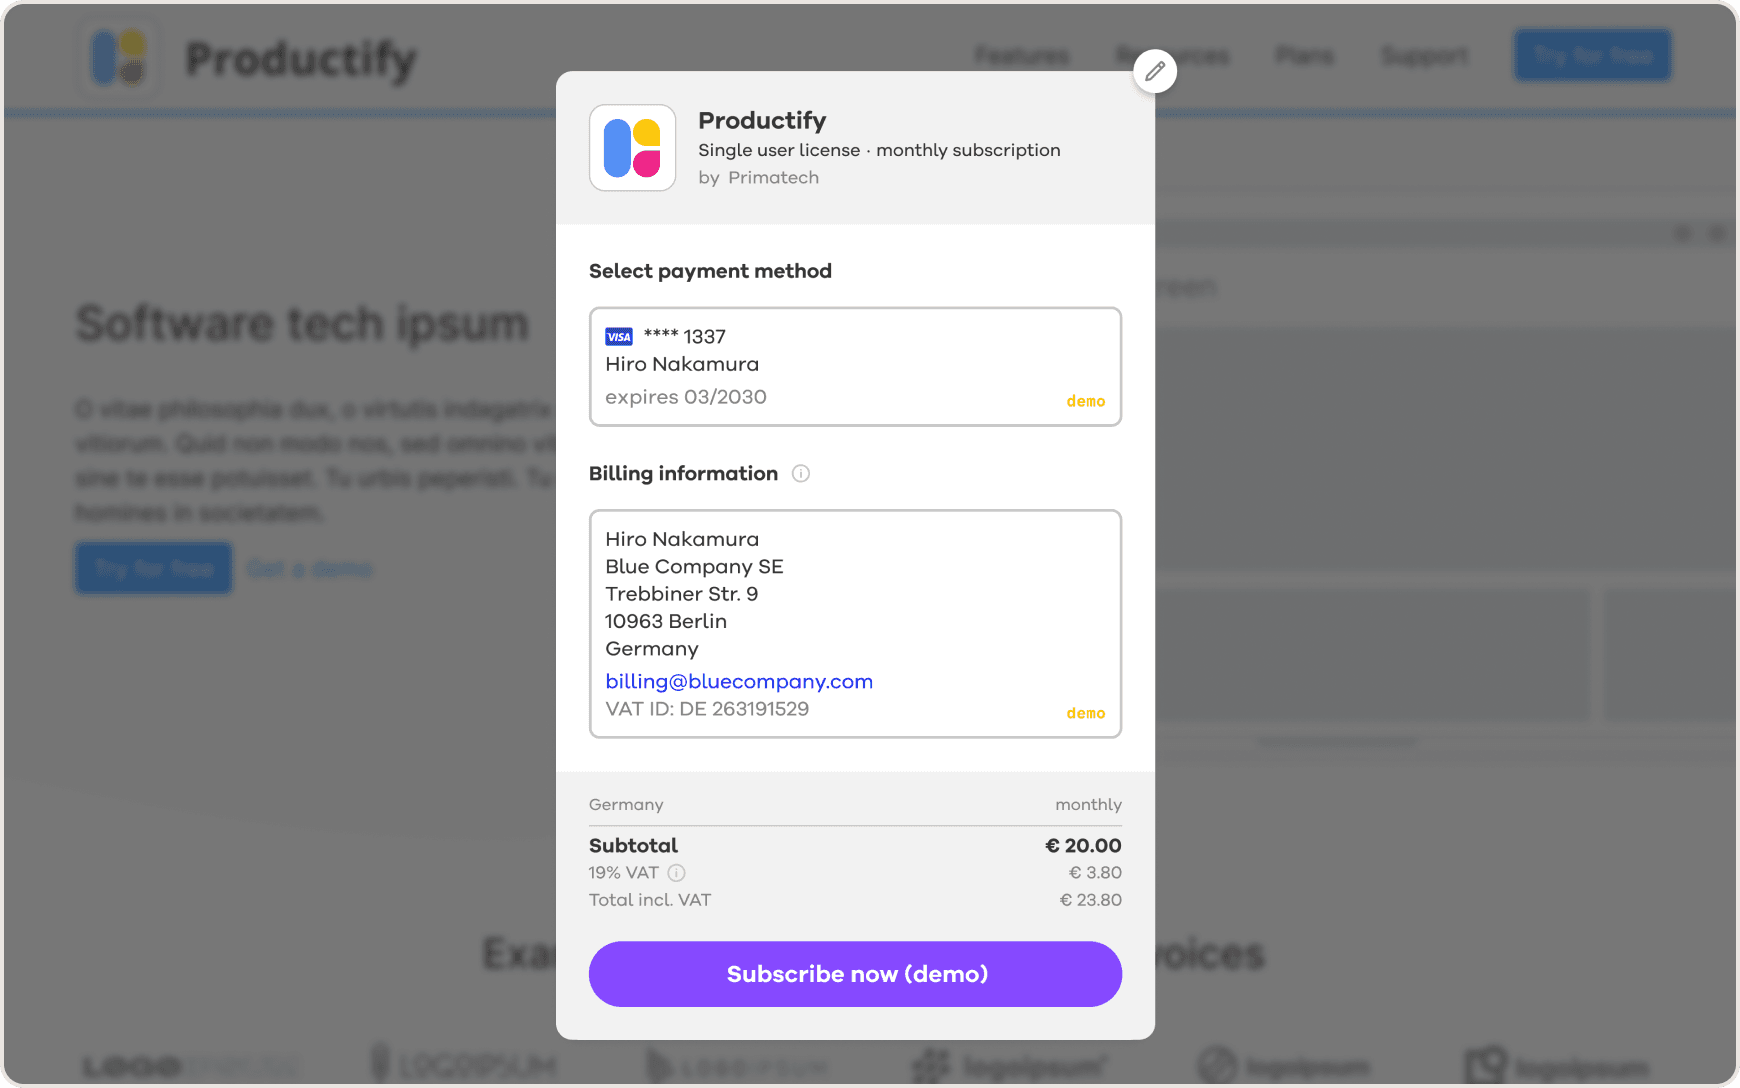
7. Yatta Checkout will open and you will automatically be signed in to your account.
Now you can make demo purchases using the provided demo payment and billing data.
Note: No emails are sent for demo purchases, but you can download the demo invoice directly on the purchase confirmation page to see how it looks.
You can cancel the demo subscription by reopening the Checkout. Alternatively, you can cancel the demo subscription or delete the demo purchase by going to Subscriptions or Orders in "My Account" respectively.
See Yatta Checkout's Web API integration page for information on additional features, such as event handlers to show users if they already have a license.